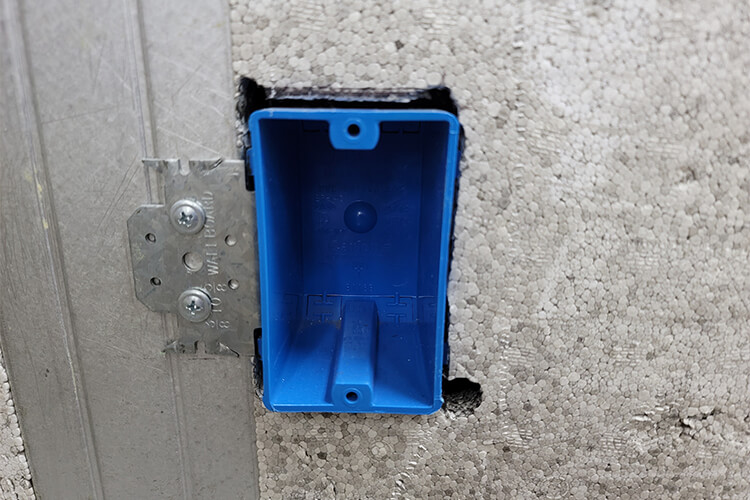
If you are a builder, carpenter or framer, the great thing about ThermaSteel is that you do NOT need special training. If you can use a screw gun, you can install our panels! Just like typical framing, ThermaSteel panels have studs every 16” except that we provide insulation and openings for windows and doors too.

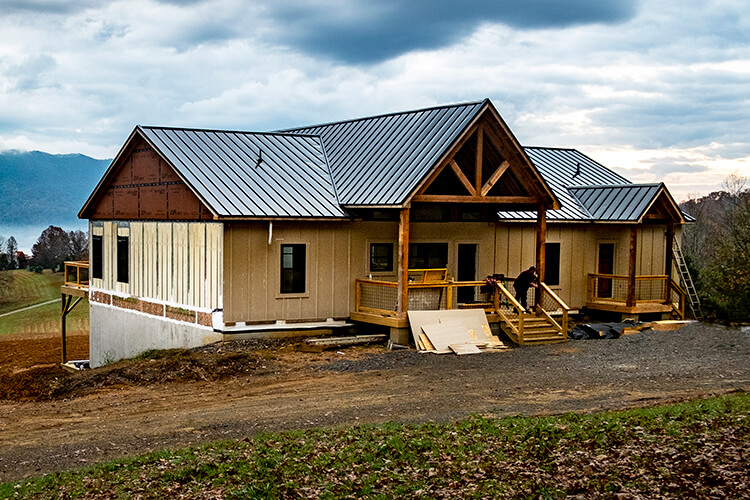
The panels arrive on site bundled and marked with corresponding drawings and all accessories – just like big building blocks.

This Is How You Do It:

  1. Panels arrive numbered according to the assembly plan (shop drawings).
  2. Clear the levelled slab from debris and dust, lay the sill foam or #30 felt or caulk (seam sealer: Prosoco R-Guard) under the track.
  3. Mark with a chalk line the track position. Then, lay the track. Bolt track to the slab/foundation (per engineer’s or IRC/IBC guidelines and local code).
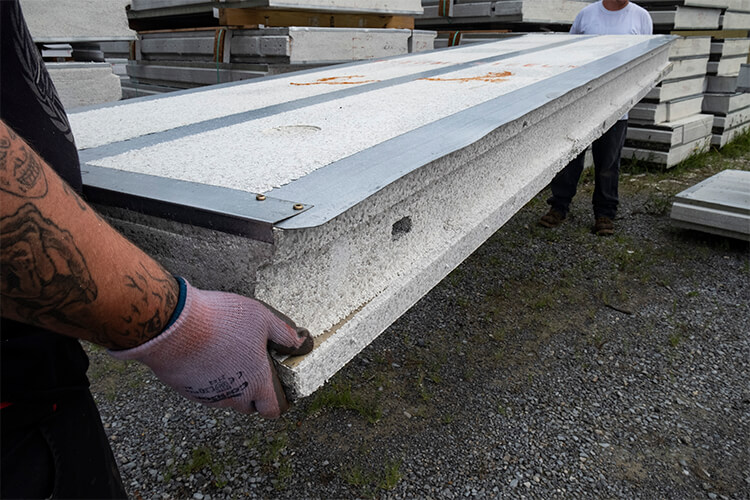
  4. Starting at a corner and working your way from left to right, drop panel number 1 in place.
  5. The leading edge of the panel is always on the exterior side.
  6. Secure the panel by screwing two #10 self-tapping screws through the flanges of the track into the studs of the panel on the exterior, and two screws on interior side of the track.
  7. Then drop panel number 2 in place making sure it fits snug into the track and into the groove of the adjacent panel.
  8. Continue to the next panel to complete the wall.
  9. We recommend to temporarily brace panels every 8’ until the structure is fully secure.
  10. Once panels are in final position, secure leading edge to adjacent panel by using six (6) #10 self-tapping screws evenly spaced vertically.
  11. After all wall panels are in place and secure, attach top track to panels and secure per step 7.
  12. Caulk interior joints between panels.
  13. Caulk the gap between the track and the panel on the bottom of the exterior side.
  14. For specific conditions please refer to the provided shop drawing assembly for your project.

Boom! Done.  See our videos section for examples.

Panels on average weigh 45Lbs (4′ x 10′ panels) and you should be able to place 3-5 panels per hour.

How to install a ThermaSteel track

How to install a ThermaSteel panel

How to install plumbing in ThermaSteel

How to track

Where to caulk

How to do plumbing

Speed

Have you project erected in days, not weeks, allowing you the ability to fit more projects in a fiscal year.

Cost Savings

Expedite build times, reduce the number of trades needed on the project site, reduce the number of material suppliers, reduce equipment and soft costs… the list goes on!

Simplicity

With labor availability at an all time low, you’ll have the flexibility to train unskilled laborers in just a few hours.

Ease of Use

Our panels are lightweight which means they can easily be maneuvered around the job site and into their final position, often eliminating the need for onsite cranes and heavy equipment.

Before

After

Frequently Asked Questions

How do you install electrical wiring?

builders faq
All wall panels come from the factory with a horizontal chase 1″ x 2″ for electrical wiring.

What about the electrical boxes and plumbing?

builders faq

Cut the foam preferably with a hot knife and attach the box to the stud.

For any type of plumbing, use the same method as the electrical.

What about siding, stucco and brick?

builders faq
builders faq
Brick, Siding, aluminum and other skin systems are applied directly to the panel studs (every 16″) without additional sheathing. Yes it holds. For Stucco – add PVC mesh per manufacturer’s requirement.

Do I need a vapor barrier?

builders faq
The panels do NOT require any weather barrier on exterior walls above grade.

Are trusses or other roof supports required?

builders faq
While you may need roof supports for your project, you can reduce trusses from 2ft on center to 5ft and even 8ft on center, saving over 2/3 of truss costs. In addition you will save tremendous labor, since the panels are load bearing and require 2 supports per panel (per engineering).

Are the panels fire rated?

builders faq
Panels are a non-combustible assembly; however, to achieve 1, 2, or 3 hour fire rating, gypsum or similar fire rated material should be applied to meet desired fire rating.
Check here our 2 hour load-bearing fire tests.

Code Approvals

  • 2018, 2015, and 2012 International Building Code (IBC)
  • 2018, 2015, and 2012 International Residential Code (IRC)
  • Florida Product Approval
  • 2 Hour Load-Bearing Fire Tests
  • City of Chicago Approval
  • City of Los Angeles Approval