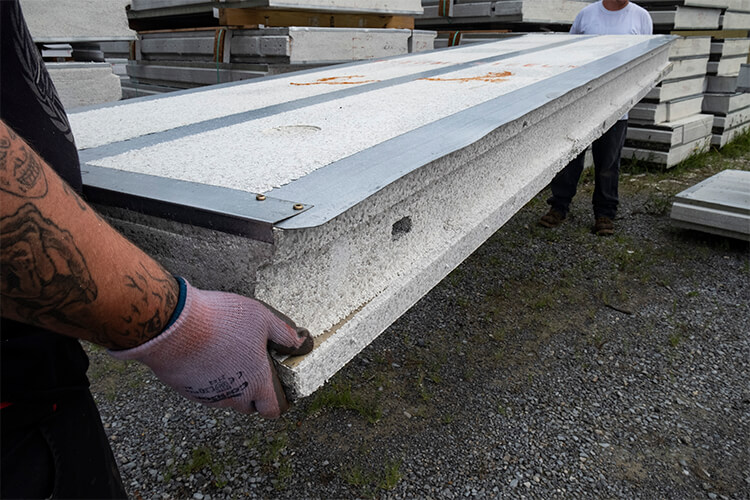
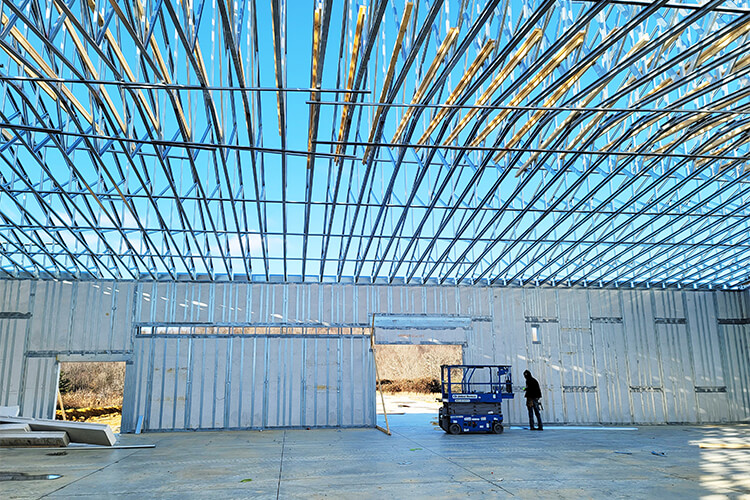
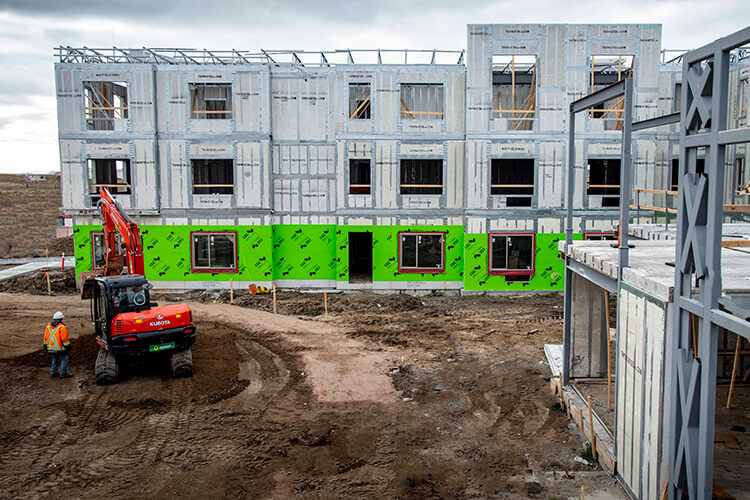
If you are a builder, carpenter or framer, the great thing about ThermaSteel is that you do NOT need special training. If you can use a screw gun, you can install our panels! Just like typical framing, ThermaSteel panels have studs every 16” except that we provide insulation and openings for windows and doors too.
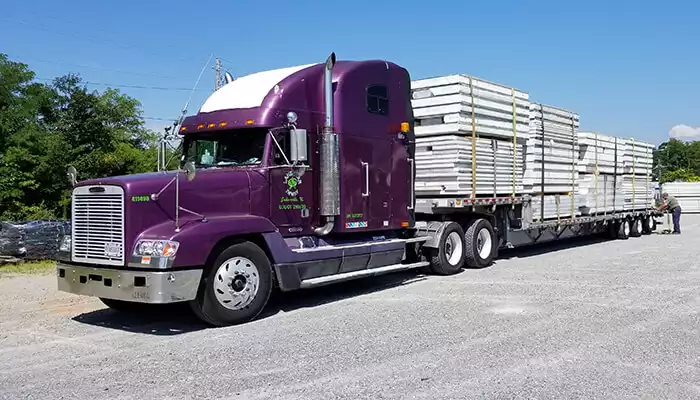
The panels arrive on site bundled and marked with corresponding drawings and all accessories – just like big building blocks.
This Is How You Do It:
- Panels arrive numbered according to the assembly plan (shop drawings).
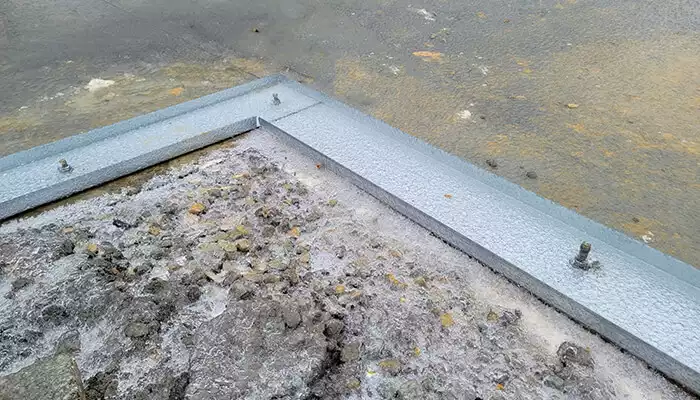
- Clear the levelled slab from debris and dust, lay the sill foam or #30 felt or caulk (seam sealer: Prosoco R-Guard) under the track.
- Mark with a chalk line the track position. Then, lay the track. Bolt track to the slab/foundation (per engineer’s or IRC/IBC guidelines and local code).
- Starting at a corner and working your way from left to right, drop panel number 1 in place.
- The leading edge of the panel is always on the exterior side.
- Secure the panel by screwing two #10 self-tapping screws through the flanges of the track into the studs of the panel on the exterior, and two screws on interior side of the track.
- Then drop panel number 2 in place making sure it fits snug into the track and into the groove of the adjacent panel.
- Continue to the next panel to complete the wall.
- We recommend to temporarily brace panels every 8’ until the structure is fully secure.
- Once panels are in final position, secure leading edge to adjacent panel by using six (6) #10 self-tapping screws evenly spaced vertically.
- After all wall panels are in place and secure, attach top track to panels and secure per step 7.
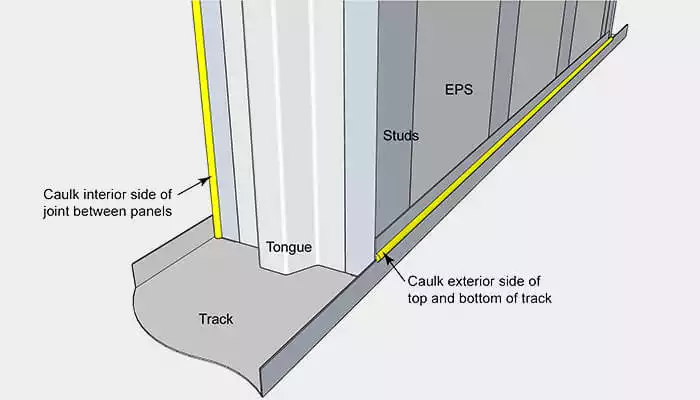
- Caulk interior joints between panels.
- Caulk the gap between the track and the panel on the bottom of the exterior side.
- For specific conditions please refer to the provided shop drawing assembly for your project.
Boom! Done. See our videos section for examples.
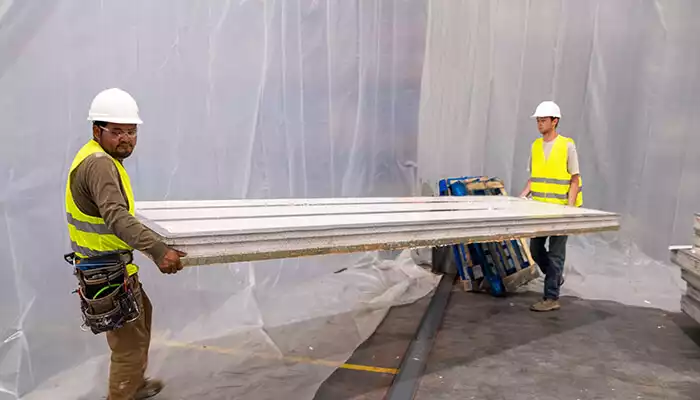
Panels on average weigh 45Lbs (4′ x 10′ panels) and you should be able to place 3-5 panels per hour.
